
Can You Cut LED Strip Lights?
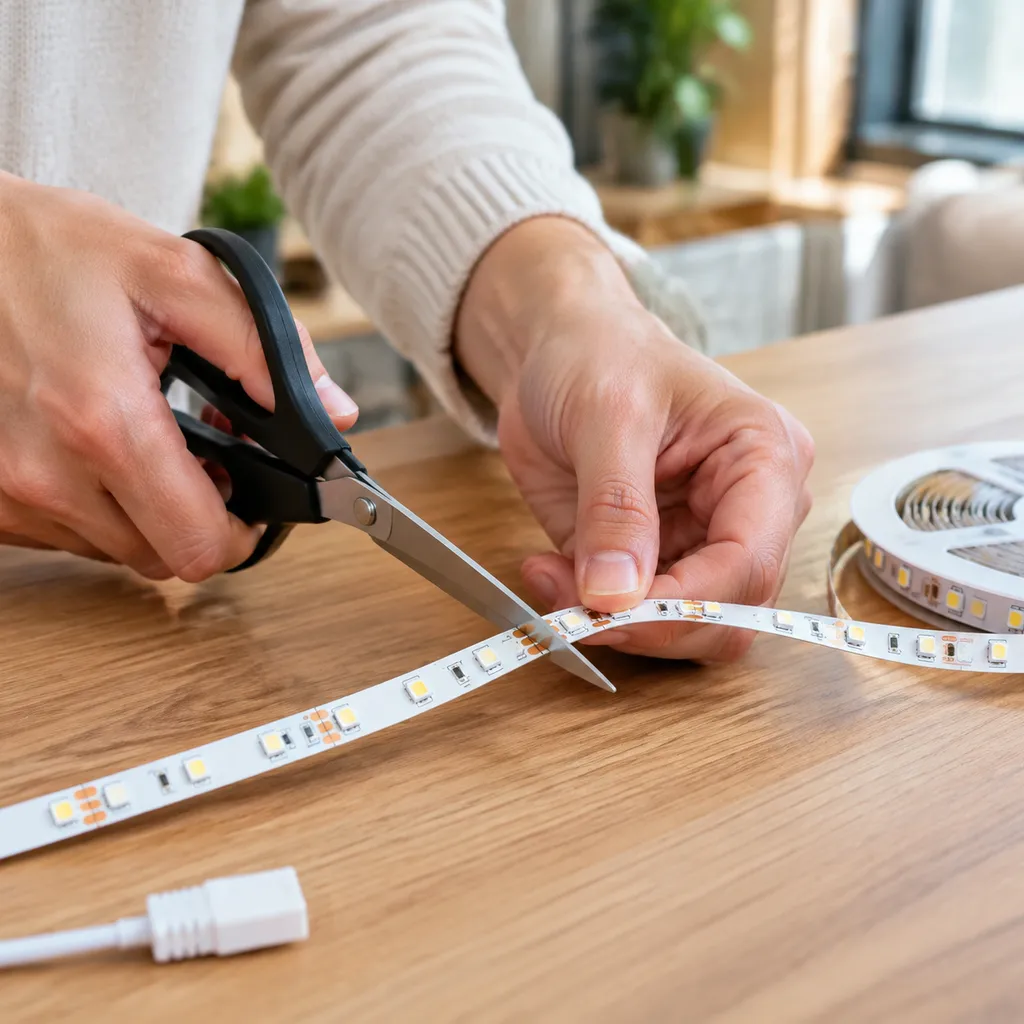
Yes, you can cut LED strip lights to fit the exact dimensions of your project. Most standard low-voltage flexible LED tapes are engineered with cut-to-length capabilities, making them an adaptable linear lighting solution for residential, commercial, and architectural installations. However, you cannot cut a strip just anywhere—trimmings must occur strictly at pre-determined points designed into the circuit board to ensure the remaining LEDs continue to illuminate properly.
Check Whether Your Exact Strip Model Is Cuttable
Before taking shears to your lighting, verify the specifications of your specific strip model:
- Visual Indicators: Standard cuttable strips feature clearly marked copper solder pads, printed scissor icons, or dashed lines along the flexible printed circuit board (FPCB).
- Voltage and Strip Type: Many 12V and 24V DC strips can be cut, but confirm the cut marks and instructions for the exact model. Voltage alone does not establish cuttability. Mains-voltage (120V/230V) AC strips require significantly greater caution, longer cutting intervals, and dedicated termination methods.
- Ingress Protection (IP) Rating: Coated strips (IP65, IP67, or IP68) can still be cut, but altering the outer silicone sleeve compromises moisture protection unless resealed with silicone glue and specialized end caps.
Why Cutting Intervals Differ Between Models
The distance between available cut points is determined by the circuit topology—specifically, how the diodes and current-limiting resistors are grouped in series and parallel.
| Strip Model / Voltage | Common Cutting Interval | Electrical Grouping |
|---|---|---|
| 12V DC Standard SMD | 25 mm – 50 mm (1″ – 2″) | Typically 3 LEDs per circuit run |
| 24V DC Standard SMD | 50 mm – 100 mm (2″ – 4″) | Typically 6 to 7 LEDs per circuit run |
| High-Density / COB Strips | 10 mm – 25 mm (0.4″ – 1″) | Micro-diodes grouped closely for seamless, spot-free output |
Supply voltage alone does not determine the maximum run or cutting interval. Compare the exact models, connected load, cable size and power-feed arrangement. If your application demands precise edge-to-edge cabinet or display illumination, choose high-density or COB LED strips with shorter cutting increments to minimize dark margins at the ends.
Where Can You Cut LED Strip Lights?
You cannot trim tape light at random points along the circuit board. Flexible strips consist of repeating, self-contained circuits wired in parallel. Because each segment functions as an independent loop, you must make cuts only between these circuits at designated boundary points.
How to Identify Cutting Marks and Copper Pads
Locating where to cut LED strip lights takes only a quick visual inspection:
- Scissor Symbols: Most flexible tapes feature a tiny scissor graphic printed directly on the circuit board along the safe cutline.
- Dual Copper Solder Pads: Look for small, paired copper oval or rectangular pads. These sit at the joint of each electrical segment and carry markings for LED strip polarity (such as + and -, or channel indicators like R, G, B, W).
- Cutting Intervals: These points appear at fixed LED strip cutting intervals—typically every 25 mm to 100 mm on low-voltage models.
When making a cut, slice straight down the exact center line of the LED strip solder pads. Leaving an equal amount of exposed copper on both halves guarantees you have sufficient surface area to solder leads or attach solderless snap terminals later.
What Happens If You Cut in the Wrong Place?
Severing the strip outside of the marked LED strip cutting marks interrupts the internal copper traces that supply voltage to the local circuit:
- Dead Segments: Cutting between an LED diode and its governing resistor leaves that entire functional group without power. The damaged section goes dark immediately.
- Short Circuits: Misaligned cuts can crush the positive and negative traces together, causing an immediate short circuit that shuts down or damages the power supply.
- Wasted Materials: An off-mark cut cannot simply be taped back together; you must trim back to the next valid cut line, which shortens your run.
Take time to align your measurements accurately, especially when preparing custom runs to cut LED strips for cabinet length where millimetre-level precision determines whether the strip fits neatly inside the extrusion profile.
How to Cut LED Strip Lights
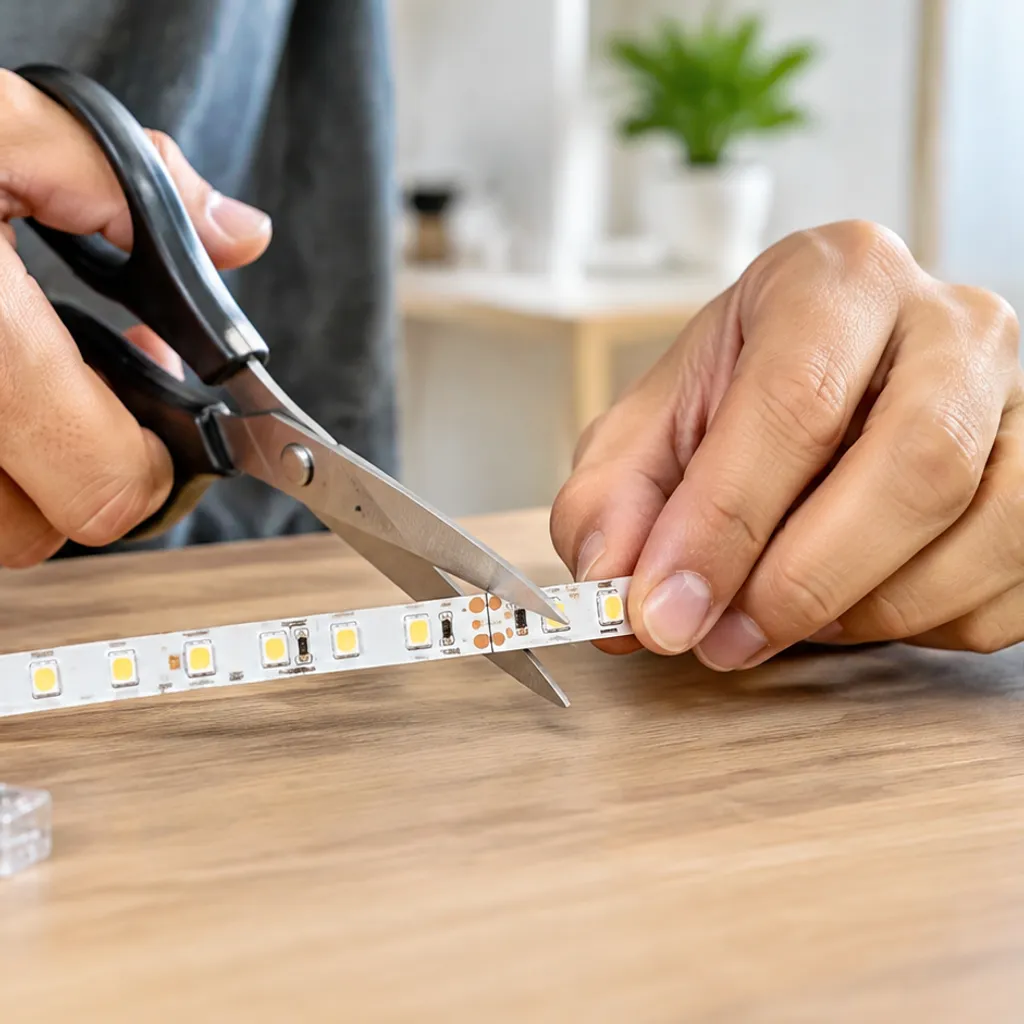 Cutting tape lighting to size is a straightforward task, but precision is critical to prevent dead diodes and wasted material. We always emphasize proper preparation and exact cuts to ensure reliable electrical continuity and clean illumination across every run.
Disconnect Power and Measure Each Section
Before handling any tools, completely disconnect your power supply from the mains. Working on live strips risks shorting the circuit, sparking, or permanently frying the onboard components. Once power is safely isolated, follow these core preparation steps:
- Measure the mounting run twice: Use a rigid tape measure along the inside edge of your aluminum profile, cabinet recess, or cove.
- Account for hardware clearance: Measure the actual space needed by the selected connector, leads and end caps. Dry-fit the assembly before deciding the finished strip length; there is no universal clearance allowance.
- Align with your run size: If you are fitting tight architectural channels, selecting a short-pitch tape like our 2835 mini cut 12V LED strip allows you to hit exact dimensions without leaving dark, unlit margins at the corners.
Cut Only at the Manufacturer’s Marked Position
LED strips are engineered in segmented circuits. You must cut solely along the designated cut lines indicated by printed scissor icons or exposed copper pads.
- Use the right tools: Use sharp utility shears or flush-cut wire nippers. Dull scissors can crush the flexible PCB, tear the traces, or delaminate the copper layers.
- Divide the solder pads equally: Aim directly down the center of the copper solder pads. Leaving half of the copper pad on each piece ensures you have enough surface area to solder leads or attach mechanical snap connectors later.
- Cut at a clean 90-degree angle: Keep your blade perpendicular to the strip to avoid angled cuts that expose bare circuit traces or bridge positive and negative tracks.
For custom joinery and specialized cabinetry requiring tight segment adjustments, our 2835 mini cut 24V LED strip provides tight cut increments, ensuring you can tailor lengths without compromising electrical layout.
Can You Cut COB, SMD and Silicone Neon Flex?
Yes, you can cut COB strips, SMD tapes, and silicone neon flex profiles, but each build requires a specific approach. When planning custom layouts for architectural accents or millwork, understanding how these form factors handle trimming ensures clean runs without dead spots or premature diode failure.
COB and SMD: Follow the Exact Model’s Cut Marks
Both standard SMD tapes and continuous-phosphor COB designs can be trimmed to fit your space, but their physical structures require careful inspection before you slice:
- SMD Strip Lights: Individual diodes sit exposed on the flexible printed circuit board (PCB). You will see distinct printed lines accompanied by copper solder pads at set intervals—typically every 1 to 4 inches depending on the circuit design and operating voltage.
- COB LED Strips: Because a continuous layer of phosphor covers the micro-LED chips, finding the cut point looks slightly different. Manufacturers print small indicator marks, dashes, or scissor icons on the back of the tape or along the edge. Follow the model-specific cut marks; the construction beneath a COB coating varies between products.
- Layout Differences: When deciding between lighting formats, evaluate your space’s diffusion needs. Comparing COB vs SMD cabinet installations will help you balance cutting flexibility with seamless, dot-free output.
Always use a sharp, straight blade or heavy-duty shears to make a single, 90-degree slice through the center of the copper pads. Splitting the copper evenly preserves enough contact surface on both segments for future soldering or clip connectors.
Neon Flex: Confirm Cutting and End-Sealing Instructions
Silicone neon flex houses a flexible strip inside a thick, diffuse extrusion, making cutting and environmental protection a two-step process:
- Locate the Internal Cut Window: High-grade silicone neon flex profiles feature black or transparent indicator markings printed along the side or bottom of the housing. These marks align directly with the internal strip’s circuit boundaries.
- Make a Straight, Single Cut: Use a dedicated multi-angle utility knife or heavy-duty conduit cutter. A jagged or diagonal cut ruins the seating of the waterproof seal.
- Reseal the Ends Immediately: Cutting open an IP-rated silicone jacket breaks the factory seal. Use the termination kit, sealant and curing method specified for that exact model. Field resealing does not by itself demonstrate that the original IP rating has been restored; confirm the approved procedure before wet-location use. Never install an unsealed cut end in damp locations or exterior environments.
How to Reconnect LED Strip Lights After Cutting
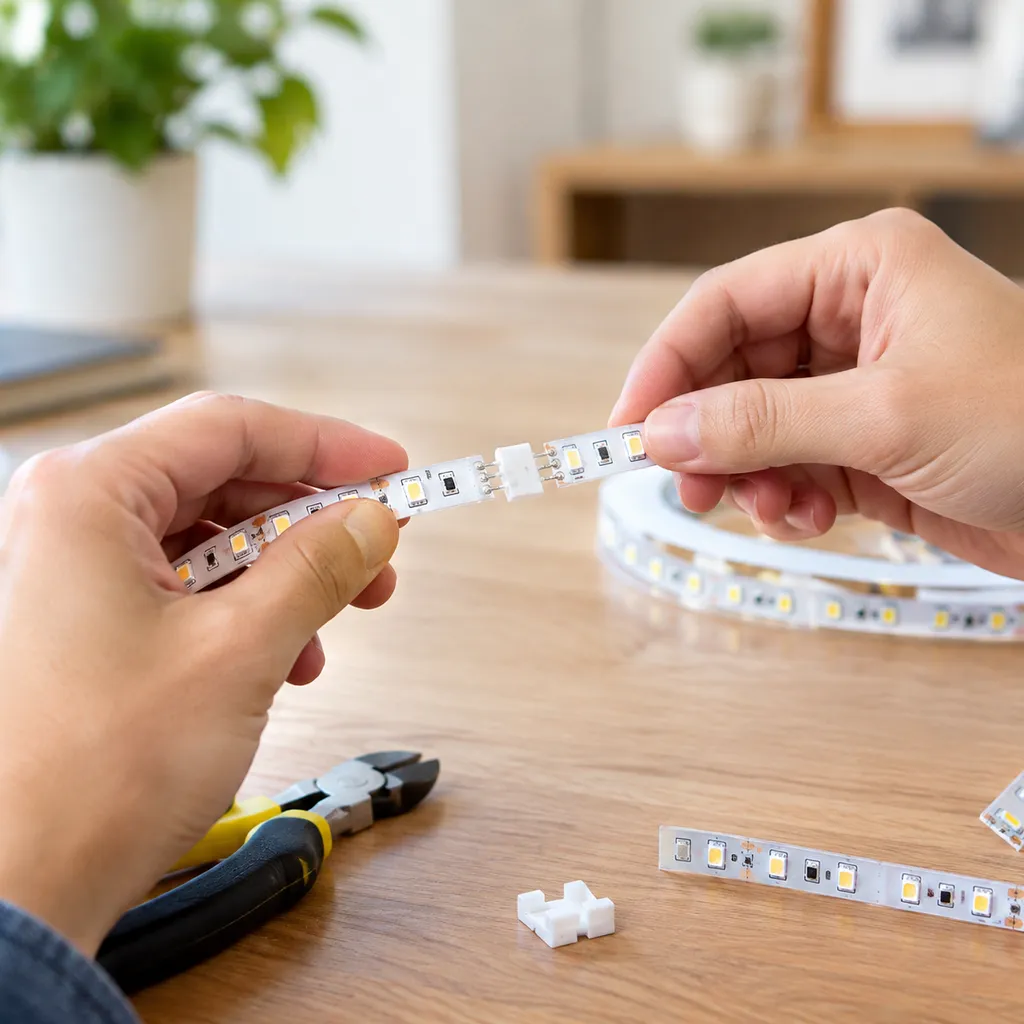 Once you cut an LED strip, you can still power and reuse the remaining section by attaching new lead wires or linking sections together. Understanding how to reconnect cut LED strips properly ensures that your lighting run remains durable, flicker-free, and safe.
Compare Compatible Connectors and Soldered Leads
There are two primary methods for rejoining sections or adding power feeds to exposed LED strip solder pads:
- Solderless LED Strip Connectors: Snap-on and piercing connectors provide a fast, tool-free connection. They work well for straightforward cabinet and joinery runs, provided the connector width matches the printed circuit board (PCB) width exactly (such as 8mm or 10mm).
- Direct Soldered Leads: Soldering insulated wires directly onto the copper pads creates the most reliable, permanent electrical bond. We recommend soldering for high-vibration environments, tight aluminum profiles, or architectural installations where connector clips are too bulky.
Check Polarity, Pad Layout and Connection Ratings
Every cut segment requires strict attention to circuit alignment:
- Align the Polarity: Always match positive to positive (+ to +) and negative to negative (- to -). Reversing the polarity prevents low-voltage DC strips from lighting up.
- Pad Spacing and Width: Verify that your connector pins align squarely over the center of the copper pads without touching adjacent traces or metal profile edges.
- Current Handling: Ensure your wire gauge and connectors can safely carry the amperage required by the total wattage of the connected run. Following standard LED strip sample checks helps you confirm mechanical fit, PCB thickness, and continuity before proceeding with large-scale wiring.
Test the Finished Section Before Installation
Always bench-test every reconnected piece prior to final mounting:
- Connect the assembled section to a compatible power supply on a clean, dry work surface.
- Gently flex the connection point to verify there is no intermittent contact or flickering.
- Check that the entire length illuminates evenly across all diodes.
- Once verified, apply heat-shrink tubing or silicone sealant over the joints to insulate the conductive points before placing the strip into its mounting channel.
Planning Cut Lengths for Cabinets and Shelves
When installing cabinet LED strip lighting, proper planning ensures you do not end up with awkward dark gaps or sections that are too long for your millwork. While you can cut LED strip lights to fit custom shelf dimensions, cuts can only happen at specific fixed intervals. Factoring in both the strip’s internal circuit design and the hardware required to power it makes the difference between a clean install and wasted material.
Allow Space for Connectors, End Caps and Cable Exits
A common mistake in cabinet installations is cutting the strip to the exact inner width of the shelf without factoring in accessory dimensions. Solderless connectors, silicone end caps, and power feed wires take up physical space inside an aluminum channel or routed groove.
- Connector clearance: Check the selected connector drawing and dry-fit it inside the profile. Connector dimensions, bend space and diffuser clearance vary by model.
- Cable exits: Wire leads exiting straight out of an extrusion end cap or through a rear-drilled hole require bending radius clearance to prevent copper pad strain.
- Profile allowance: When mounting versatile options like our 2835 standard LED strip inside shallow cabinetry, measure the net usable channel length between the end caps rather than the raw shelf edge.
Always dry-fit your feed wires and terminals inside the profile before making your final cut.
Prepare a Section Schedule to Reduce Offcuts
To minimize discarded tape and stay within electrical parameters, we map every run using a cutting schedule before beginning fabrication:
| Component / Step | What to Check | Impact on Installation |
|---|---|---|
| Clearance Dimension | Net interior shelf width minus connector bulk | Determines the true target length |
| Cutting Intervals | Preset pitch between copper pads (e.g., 25 mm, 50 mm, 100 mm) | Rounds your run down to the nearest safe cut line |
| Reel Allocation | Total segment lengths grouped across standard rolls | Minimizes short, unusable offcuts |
For shelving with strict millimeter tolerances, using tight-pitch options such as 2216 standard LED strips provides shorter cutting intervals, allowing cut-to-length LED strips to sit flush with cabinet boundaries without creating dark corners.
Frequently Asked Questions
Will Both Pieces Work After Cutting?
For a model designed to be cut and reconnected, both complete segments can be reused if they are undamaged and connected according to the manufacturer’s instructions. The section still wired to your driver will light up immediately. The separated piece forms an independent circuit segment that can light up as soon as you connect it to a compatible driver or link it back to the primary run.
Can You Reuse the Leftover Strip?
You can easily reuse leftover offcuts rather than discarding them. Because low-voltage tape lights are wired in parallel groups, any segment containing at least one complete cut interval remains fully functional. To reuse an offcut: Clean the exposed copper solder pads on the cut end. Attach a solderless clip-on connector or solder new lead wires directly to the pads. Match the polarity markings (+ and -) correctly to avoid reverse-polarity issues. When planning projects that require multiple short runs, our COB LED strips feature short cut intervals, making offcuts easy to repurpose for smaller niche areas.
Does Cutting Affect Waterproof Protection?
Cutting an outdoor or wet-rated strip immediately breaks its factory seal. Once you slice through the silicone sleeve or polyurethane coating, moisture and dust can enter through the exposed copper pads and circuit board edges. Ask the manufacturer which termination method is approved for the exact model. The following steps are not proof that the original IP rating has been restored: Clean away any loose silicone debris around the cut point. Slide a matching end cap over the cut edge. Fill and seal the cap with neutral-cure silicone adhesive. Allow the sealant to cure fully before powering the strip or exposing it to damp environments.
Can BEXLIGHTING Supply Prepared Strip Sections?
Yes. We supply cut-to-length strip sections prepared to your project requirements. For architectural features, commercial millwork, and retail displays, field-cutting large quantities can consume valuable installation time and introduce consistency errors. We provide custom lengths, pre-soldered input leads, corner interconnects, and sealed ends across our strip and silicone neon flex lines. You can review our LED strip sample approval guide to verify cut points, wire lengths, and connection specifications before committing to full-scale production runs.
Compare the BEXLIGHTING range.
Explore all products →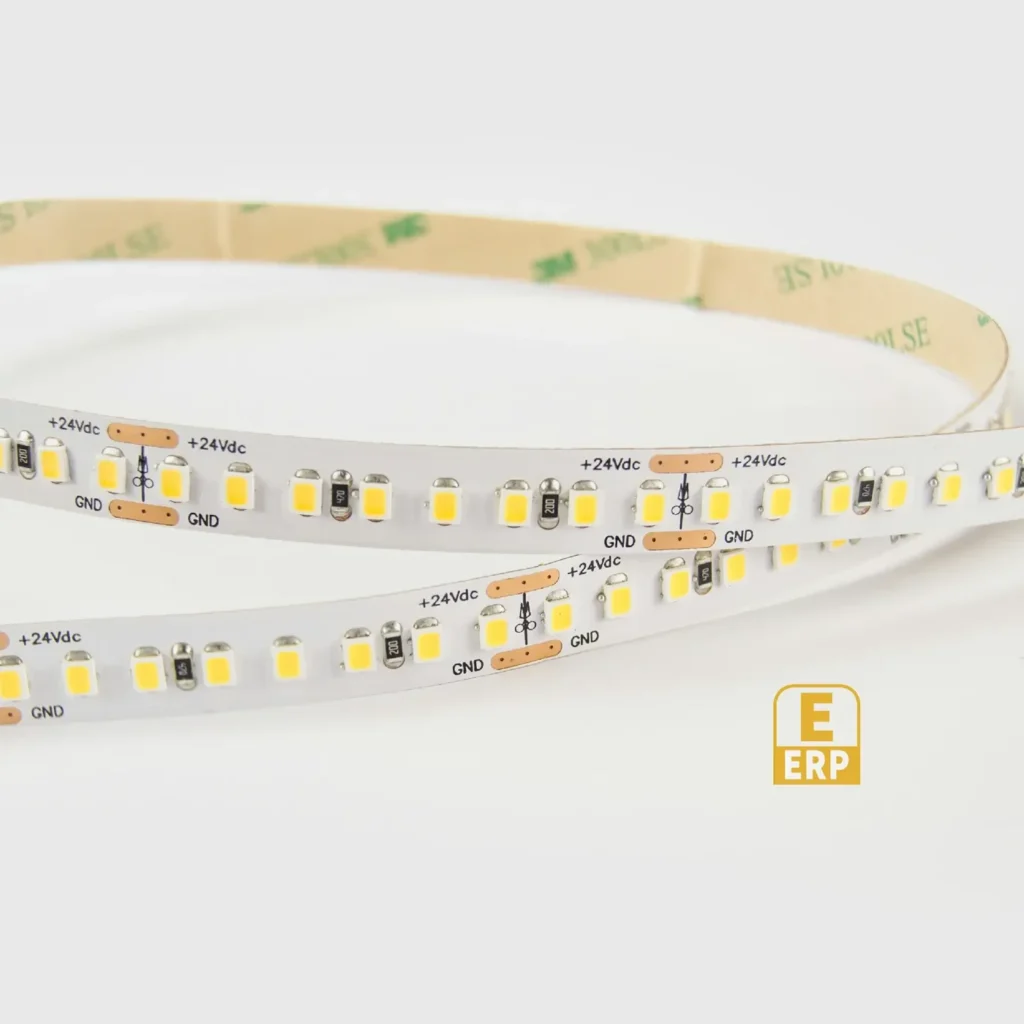
2835 LED Strip for Furniture — ER80, 100mm Cut
SR005-80P2835IP20-ER80
- Voltage
- 24V
- PCB width
- 8 mm
- Protection
- IP20
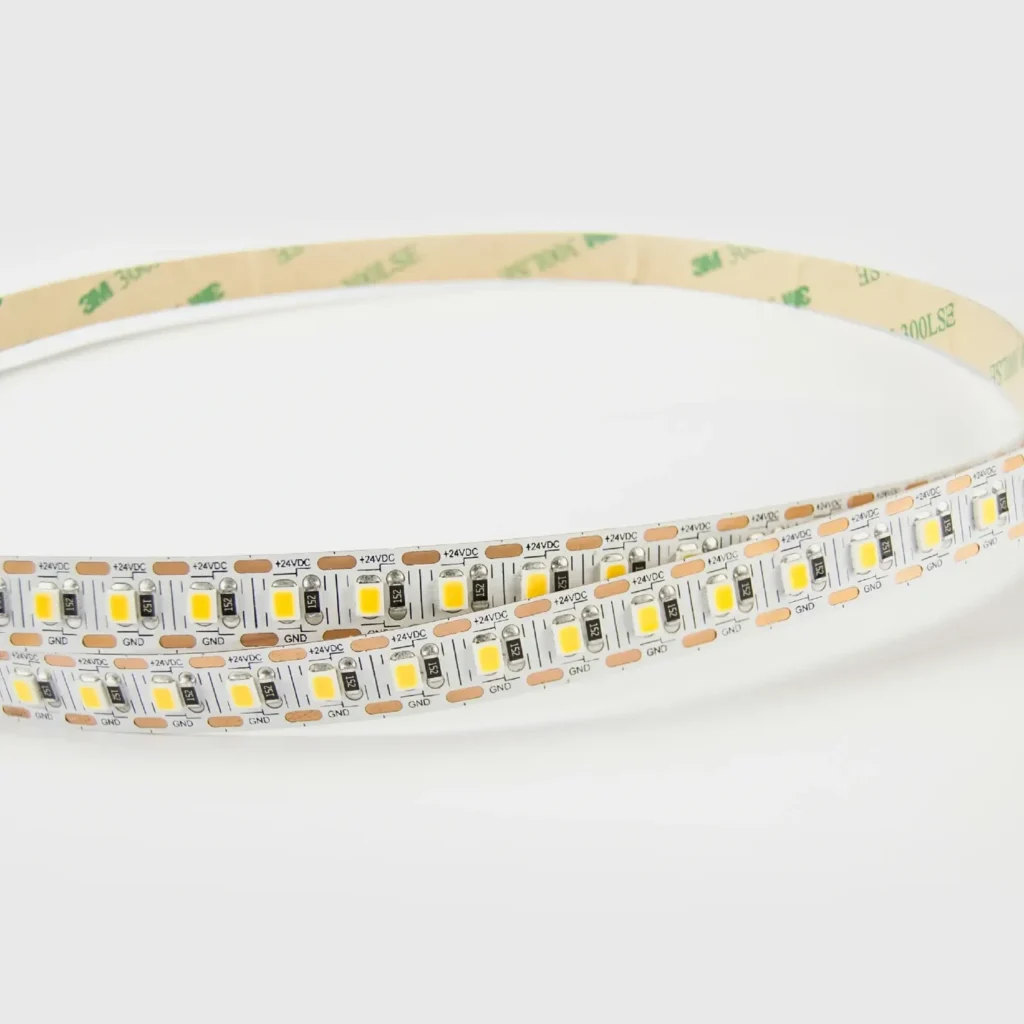
24V Mini-Cut LED Strip for Precise Section Lengths
SR005-120P2835IP20-MC24V
- Voltage
- 24V
- PCB width
- 8 mm
- Protection
- IP20

2835 LED Strip — ER90, 160 LEDs/m
SR005-160P2835IP20-ER90
- Voltage
- 24V
- PCB width
- 8 mm
- Protection
- IP20
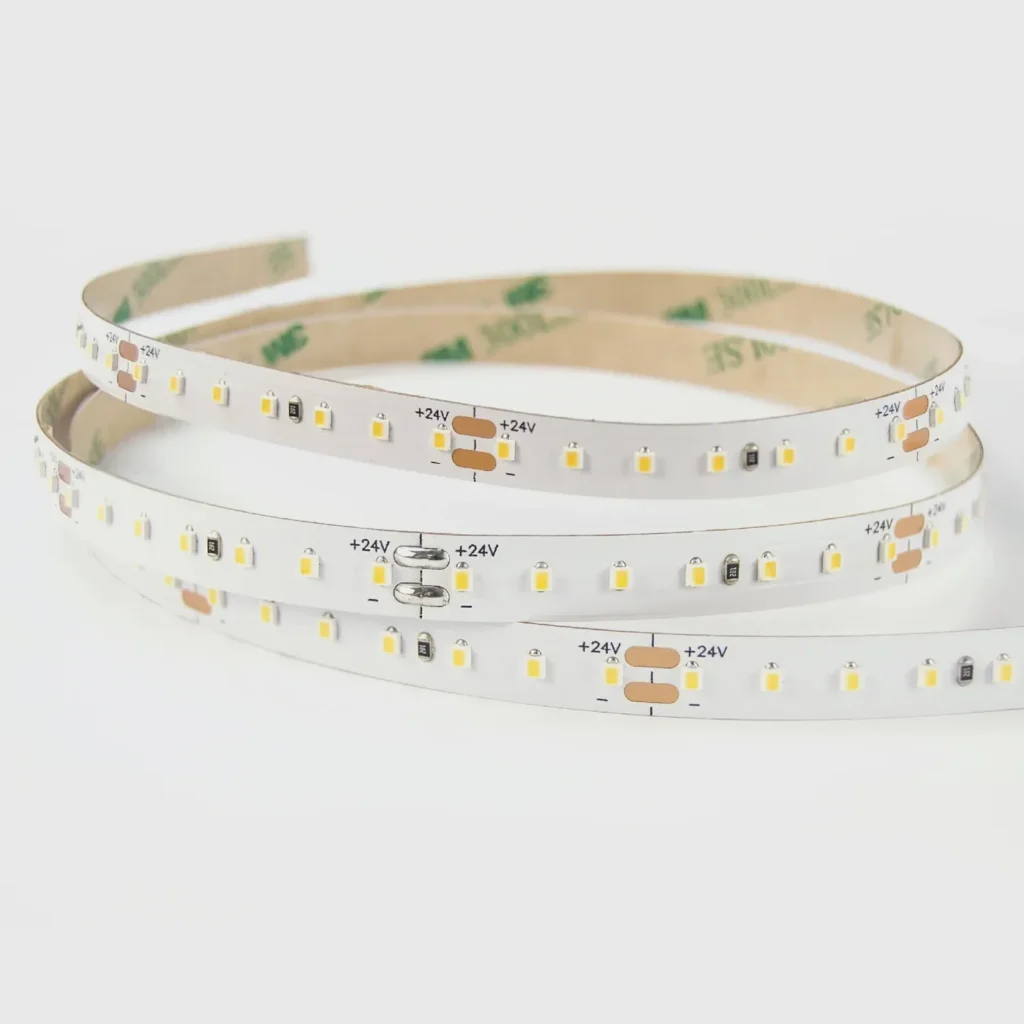
2216 LED Strip for Shelves — 140 LEDs/m
SR005-140P2216IP20
- Voltage
- 24V
- PCB width
- 8 mm
- Protection
- IP20
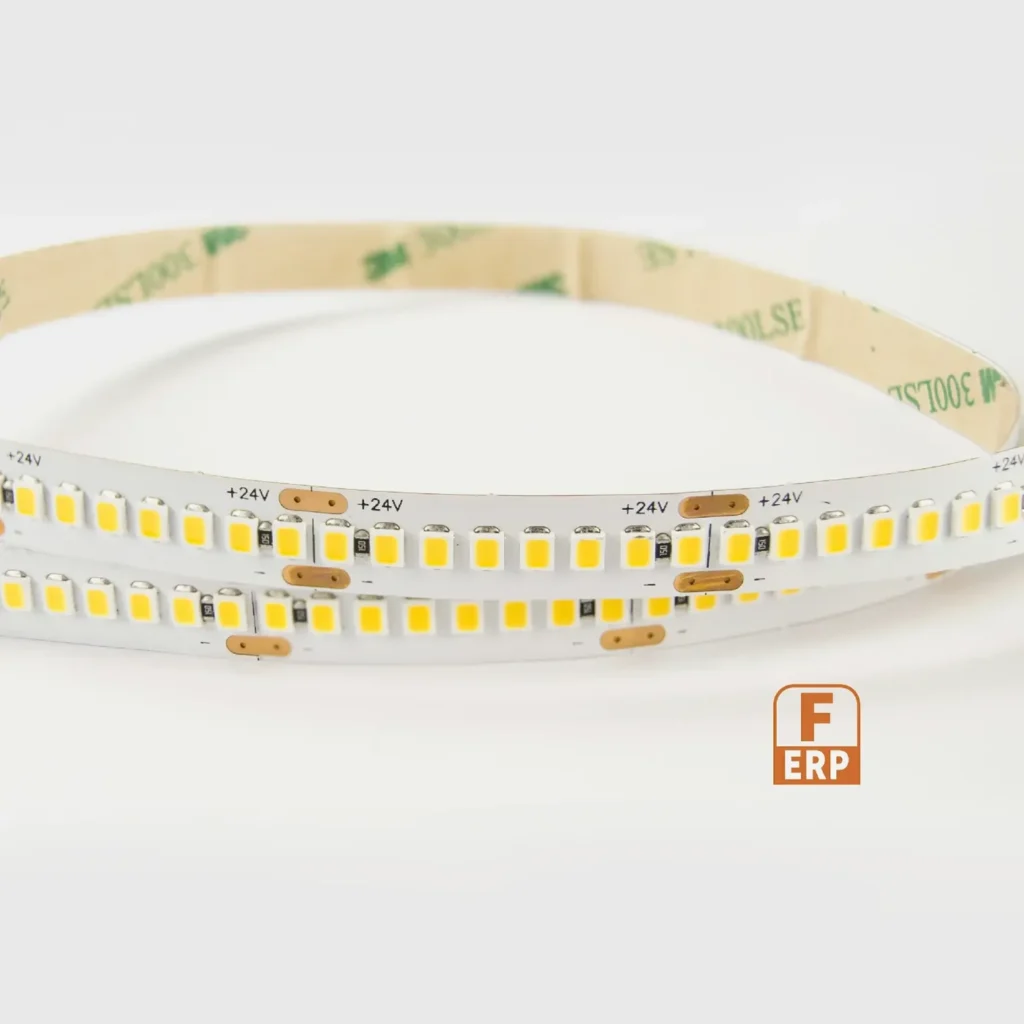
Colour-Rendering 2835 LED Strip — FR90, 25mm Cut
SR005-240P2835IP20-FR90
- Voltage
- 24V
- PCB width
- 10 mm
- Protection
- IP20
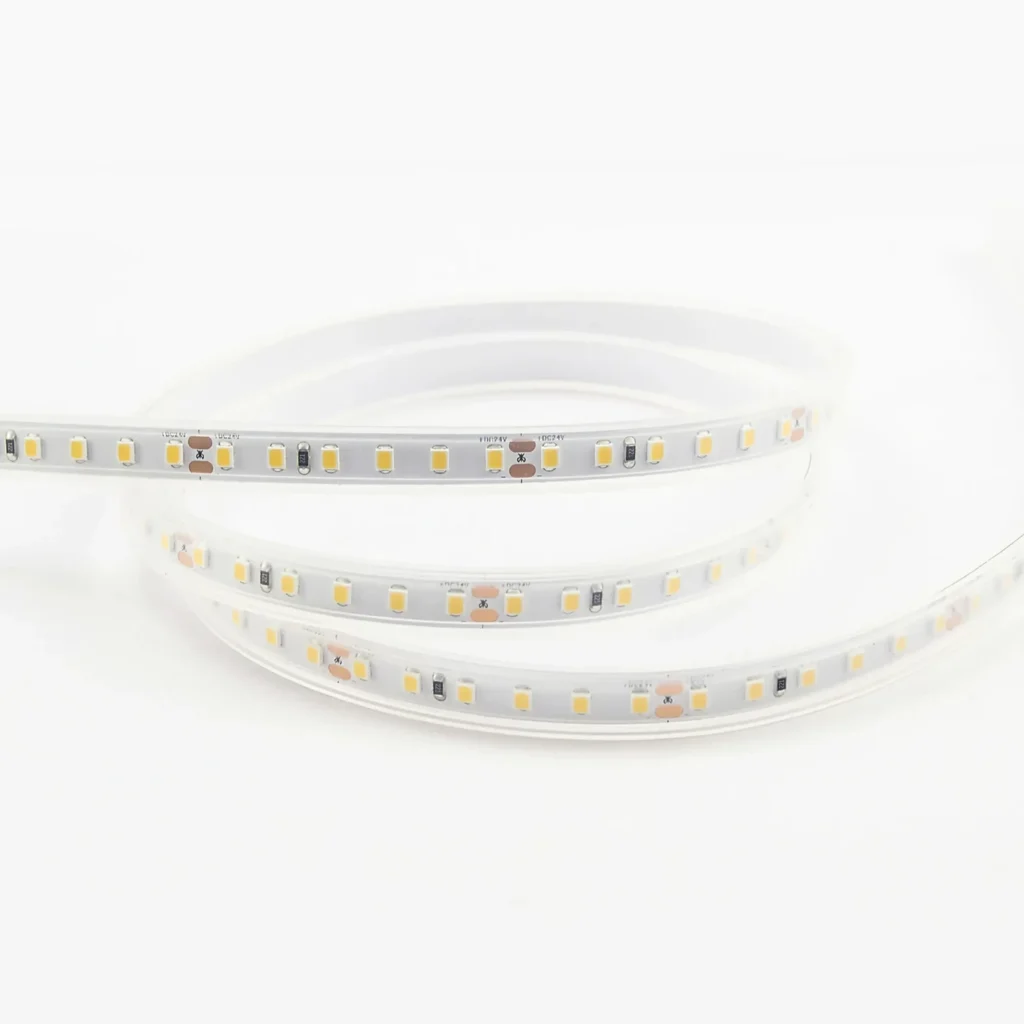
IP65 White 2835 LED Strip for Protected Assemblies
SR005-120P2835IP65
- Voltage
- 24V
- PCB width
- 10 mm
- Protection
- IP65
References and model-specific instructions
These manufacturer resources explain general cutting and installation principles. They do not certify a BEXLIGHTING model, its cut interval or a field-resealed IP rating. Confirm those details against the selected model’s instructions before installation.